A fresh coat of paint is one of the cheapest ways to change a room. It is also one of the easiest to get wrong. Streaks, drips, patchy corners, and peeling edges almost always come from rushed preparation, not from a lack of talent.
Professionals spend most of their time on prep and only a fraction on painting. Follow the same approach and your walls will look far better.
Plan Before You Buy
Measure the room to calculate how much paint you need. Multiply the width of each wall by its height, add them together, and subtract large openings such as doors and windows. Most paint cans list their coverage per litre or gallon, so you can estimate the quantity. Plan for two coats and buy slightly extra for touch-ups.
Choose the Right Finish
- Matte or flat: hides imperfections well, but marks easily. Good for ceilings and low-traffic rooms.
- Eggshell or satin: a gentle sheen that cleans fairly easily. A popular choice for living rooms and bedrooms.
- Semi-gloss: durable and easy to wipe. Suits kitchens, bathrooms, doors, and trim.
Test your color first. Paint a sample patch on the wall, or on a large piece of card, and look at it in morning light, afternoon light, and under lamps. Colors change a lot depending on lighting.
Gather the Right Tools
- Quality angled brush for edges and corners
- Roller with a suitable nap: short for smooth walls, longer for textured ones
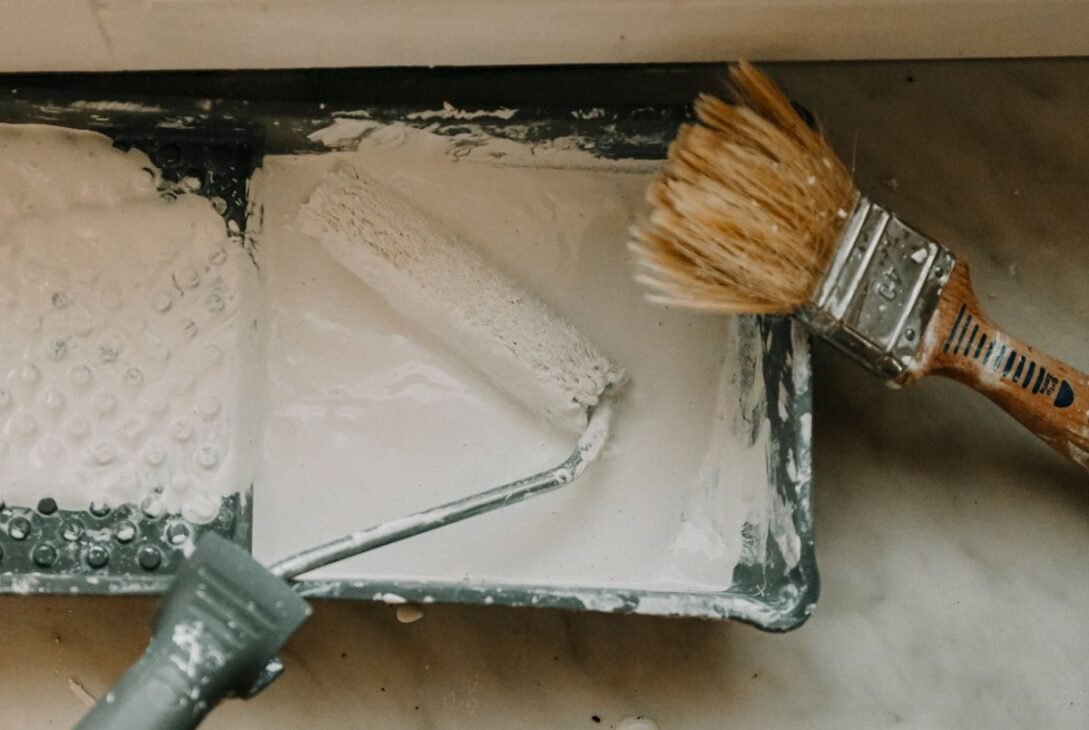
- Roller tray and extension pole
- Painter’s tape
- Drop cloths or old sheets
- Filler or spackle and a putty knife
- Sandpaper or a sanding block
- Primer, if needed
- Stepladder
Cheap brushes and rollers shed bristles and fibers and leave a rough finish. A decent set costs little and makes a noticeable difference.
Prepare the Room
This stage decides the result.
- Clear the space. Move furniture to the center and cover it, or remove it entirely. Cover the floor with drop cloths.
- Remove fixtures. Take off switch plates, socket covers, curtain rods, and wall hooks. Put the screws in a labeled bag.
- Clean the walls. Dust, grease, and fingerprints stop paint from sticking. Wipe walls with a damp cloth and mild soapy water, then let them dry fully. Pay attention to kitchens and areas near switches.
- Repair damage. Fill holes and cracks with filler, let it dry, then sand smooth. Run your hand over the wall. If you can feel a bump, you will see it after painting.
- Tape edges. Apply painter’s tape along trim, ceilings, and window frames. Press the edge firmly so paint does not bleed underneath.
If your walls have stains, strong color, or were previously glossy, use a primer. It helps the topcoat stick and prevents dark colors or stains from showing through.
Paint in the Right Order
Work from top to bottom so drips fall onto unpainted areas.
- Ceiling first, if you are painting it.
- Walls next.
- Trim, doors, and baseboards last.
Cut In Before You Roll
“Cutting in” means painting a narrow band along corners, edges, and around fixtures with a brush before using the roller. Do this section by section, then roll the wall soon after. If the cut-in edge dries completely before you roll next to it, you may see a visible line.
Use the Roller Properly
- Load the roller evenly, rolling it in the tray to remove excess. A dripping roller causes splatters and runs.
- Roll in a “W” or “M” shape across a section of about one square meter, then fill in the gaps with straight strokes.
- Keep a “wet edge” by overlapping each new section with the paint that is still wet.
- Apply light, even pressure. Pressing hard causes streaks and uneven thickness.
Let the first coat dry fully before applying the second. Drying times are on the can, and humidity can slow them down.
Finishing Touches
Remove painter’s tape while the final coat is still slightly tacky, pulling it slowly at a low angle. If the paint has dried hard, score the edge with a utility knife first so the film does not peel away.
Touch up any gaps with a small brush. Wait until the paint has fully cured before reattaching fixtures and moving furniture back.
Common Mistakes
- Skipping prep. Painting over dust, grease, or holes is the number one cause of poor results.
- Painting in poor lighting. You will miss thin spots. Use good light, and check walls from different angles.
- Using too little paint. Stretching paint leaves patchy coverage.
- Not mixing paint. Stir well, and mix several cans together if they are the same color to avoid slight shade differences.
- Rushing the second coat. Painting over tacky paint can pull it off the wall.
- Closing the room completely. Keep windows open for ventilation, and consider low-odor paints, especially if there are children or elderly people at home.
Older homes may have paint containing lead. If your property was built decades ago and the paint is peeling, check local guidance before sanding, and wear a suitable mask.
Cleaning Up
Wash brushes and rollers right away with water for water-based paint, or the cleaner recommended on the can. Seal leftover paint tightly, and label it with the room and color name for future touch-ups. Do not pour paint down the drain. Take unused paint to a proper disposal point.
FAQ
Do I always need primer?
Not always. Use it on bare plaster, stains, patched areas, glossy surfaces, or when changing from a dark color to a light one. Many modern paints are marketed as paint-and-primer in one, but heavy stains still need a proper primer.
How long should I wait between coats?
Check the label. Many water-based paints can be recoated in a few hours, but cool or humid conditions can extend that time.
Should I paint the ceiling first?
Yes. Drips and splatters from the ceiling will fall on the walls, which you will paint afterward.
How can I avoid roller marks?
Use a good roller cover, keep a wet edge, avoid pressing hard, and do not overload the roller.
How long does a room take?
A typical bedroom can be finished over a weekend: one day for prep and first coat, another for the second coat and trim.
Conclusion
A professional-looking finish comes from patience and preparation, not special skills. Clean the walls, repair the damage, protect your edges, and apply two even coats. Choose one small room for your first project and take your time. The result will last for years.